This guide provides a step-by-step walkthrough for installing Coolify, configuring it to avoid common permission issues, and deploying n8n with a custom domain. It incorporates solutions to the specific challenges we encountered.
Important: Execute all commands directly on your VPS terminal (via SSH). Do NOT run these commands on your local machine or inside the Coolify application's terminal.
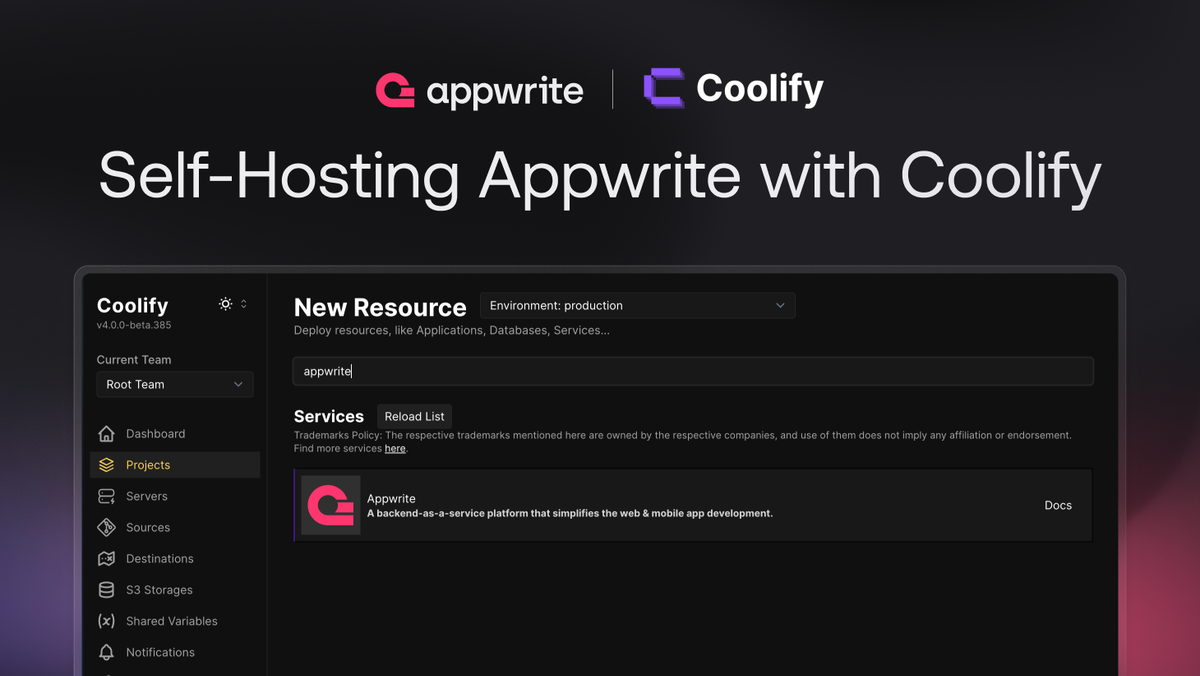
Part 1: Fresh Coolify Installation
This section covers preparing your VPS and installing Coolify.
1. VPS Prerequisites & System Update
Ensure your VPS is updated and has necessary tools like curl, git, ufw, and Docker.
sudo apt update && sudo apt upgrade -y
sudo apt install -y curl git ufw docker.io docker-compose-plugin
sudo systemctl enable docker
sudo systemctl start docker
2. Configure UFW (Uncomplicated Firewall)
Set up basic firewall rules to allow SSH, HTTP, and HTTPS traffic.
sudo ufw allow 22/tcp comment 'Allow SSH'
sudo ufw allow 80/tcp comment 'Allow HTTP'
sudo ufw allow 443/tcp comment 'Allow HTTPS'
sudo ufw enable
sudo ufw status verbose
Confirm UFW is active and rules are in place.
3. Install Coolify
Use the official Coolify installation script.
curl -fsSL https://coolify.io/install.sh | bash
Follow any on-screen prompts during the installation. This script will install Coolify and its core services.
Part 2: Initial Coolify Configuration & Permission Fixes
This section addresses the specific permission issues we encountered and sets up SSH access for Coolify's internal operations.
1. Access Coolify UI & Initial Setup
After installation, Coolify should be accessible via your VPS IP address on port 80 or 443 (if SSL is auto-configured). Complete the initial setup wizard in your browser.
2. Verify coolify User Existence
The Coolify installer usually creates a coolify system user. Verify its existence.
id coolify
If the user doesn't exist (unlikely after a fresh install), you would create it:
sudo adduser --disabled-password coolify
3. Grant sudo NOPASSWD for coolify User
This allows the coolify user to run sudo commands without a password, which is essential for Coolify's automation.
Important: You MUST use sudo visudo to edit the /etc/sudoers file. This command opens the file safely and performs syntax checks.
sudo visudo
In the editor that opens, add the following line at the end of the file (e.g., after the %sudo ALL=(ALL:ALL) ALL line):
coolify ALL=(ALL) NOPASSWD: ALL
Save and exit the editor (in nano, it's Ctrl+X, then Y to confirm save, then Enter).
4. Exempt coolify from 2FA in SSH (if applicable)
If your SSH server uses 2FA, Coolify's internal SSH client might not support it. This step ensures the coolify user can bypass 2FA for SSH connections.
sudo nano /etc/ssh/sshd_config
Add the following block at the end of the file:
Match User coolify
        AuthenticationMethods publickey
        PasswordAuthentication no
        ChallengeResponseAuthentication no
Save and exit the editor. Then, restart the SSH service:
sudo systemctl restart sshd
5. Crucial Permission Fix for /data/coolify
This addresses the "Permission denied" error when Coolify tries to access its own data directory. The issue was that /data/coolify was owned by a different UID (9999) with restrictive permissions, preventing the coolify user from traversing it.
Instead of changing ownership (which could break container expectations), we change permissions to allow traversal.
sudo chmod 755 /data/coolify
This command allows the coolify user (as "others") to read and execute (traverse) the /data/coolify directory, while keeping its original ownership.
6. SSH Key Management for Coolify
This is how Coolify authenticates with your server for management tasks.
- Generate SSH Key in Coolify UI:
- Log in to your Coolify UI.
- Navigate to your Server settings.
- Look for a section to generate a new SSH key (often under "Settings" -> "SSH Keys" or similar). Generate an
ED25519key. - Copy the public part of this key. It will typically start with
ssh-ed25519and end with a comment likecoolify@your-server.
Add Public Key to coolify user's authorized_keys on VPS:
Execute these commands on your VPS terminal. Replace YOUR_PUBLIC_KEY_FROM_COOLIFY_UI with the actual public key you copied.
sudo -i -u coolify # Switch to the coolify user's environment
mkdir -p ~/.ssh
chmod 700 ~/.ssh
echo "YOUR_PUBLIC_KEY_FROM_COOLIFY_UI" >> ~/.ssh/authorized_keys
chmod 600 ~/.ssh/authorized_keys
exit # Exit the coolify user's environment
(The chown -R coolify:coolify /home/coolify/.ssh is usually not needed if you use sudo -i -u coolify as it sets correct ownership automatically.)
7. Restart Coolify Services
After all the configuration changes, restart Coolify to apply them.
sudo docker compose -f /opt/coolify/docker-compose.yml restart
(If /opt/coolify/docker-compose.yml is not found, you'll need to locate your actual Coolify installation directory and its docker-compose.yml file.)
Part 3: Deploying n8n & Domain Configuration
This section guides you through deploying n8n and setting up its custom domain.
1. Deploy n8n via Coolify UI
- Log in to your Coolify UI.
- Navigate to Applications or Projects.
- Click "Add Application" or "New Application".
- Choose your deployment method:
- Template (Recommended): Look for an n8n template if available. This is the easiest.
- Docker Image: Select "Deploy from Docker Image" and use
n8n/n8nas the image.
- Follow the prompts to configure n8n (e.g., environment variables like
GENERIC_TIMEZONE,N8N_BASIC_AUTH_ACTIVE,N8N_BASIC_AUTH_USER,N8N_BASIC_AUTH_PASSWORD).
2. Configure Custom Domain for n8n (n8n.your_domain)
This makes n8n accessible via your desired domain.
- DNS Configuration:
- Go to your domain registrar's (or DNS provider's) settings for
your_domain. - Add a new
Arecord:- Type:
A - Name/Host:
n8n - Value/Points to: Your VPS IP address (`Your_Server's_IP@)
- TTL: Default (or lower for faster propagation).
- Type:
- Wait for DNS changes to propagate (can take minutes to hours).
- Go to your domain registrar's (or DNS provider's) settings for
- Coolify UI Configuration:
- Log in to your Coolify UI.
- Go to your n8n application's settings.
- Look for a section related to Domains or Custom Domains.
- Add
n8n.your_domainas a custom domain for your n8n application. - Coolify should automatically provision an SSL certificate (Let's Encrypt) for this domain. Verify its status.
3. Crucial Port 8000 Fix (Remove Direct Port Mapping)
This prevents direct access to n8n via http://your-vps-ip:8000 and forces all traffic through the secure proxy.
- Log in to your Coolify UI.
- Go to your n8n application's settings.
- Look for a section like "Public Ports" or "Port Mappings".
- Delete or disable any entry that maps an external port (like
8000) to an internal container port (like5678). - Save the changes. Coolify will re-deploy n8n without that direct port exposure.
4. Verify n8n Access
After DNS propagation and Coolify configuration, you should be able to access your n8n instance securely via:
https://n8n.your_domain
This guide covers the full process and addresses the specific issues we debugged. If you encounter any new errors, please provide the full error message and context.
Member discussion: